Step 4: Add Images To Posts
The aim of this fourth activity is to:
- Learn how to add images to your posts and pages.
- Add an image(s) to a post.
Using Images in Posts
Images grab your readers’ attention and encourage them to read your posts.
But you can’t just use any image you like in a blog post.
Laws that apply to the use of copyright material in schools don’t apply to using the material on the Internet. We will discuss copyright and finding images online that you can use in blog posts in the next step in this series.
For this activity, we will focus on learning how to upload photos you’ve taken or created using an app, or an online photo editor tool.
Remember to be Internet savvy. Don’t share personal photos online. Be kind and compassionate. Don’t upload photos that could hurt someone else.
Upload your own photos
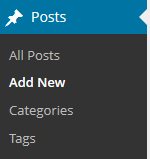
Go to Posts > Add New
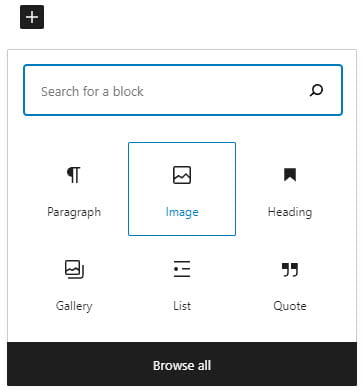
Add an image block where you want the image to be added.
To add a new block you click on the + icon at the right of an empty block or at the top left and click on the Image icon.
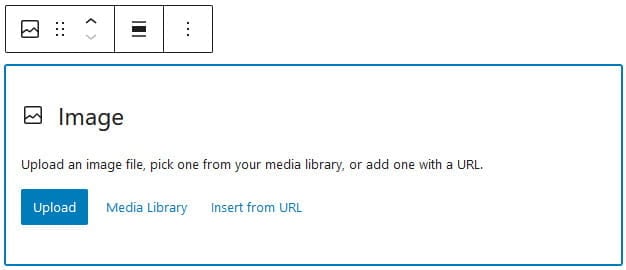
Click on Upload.
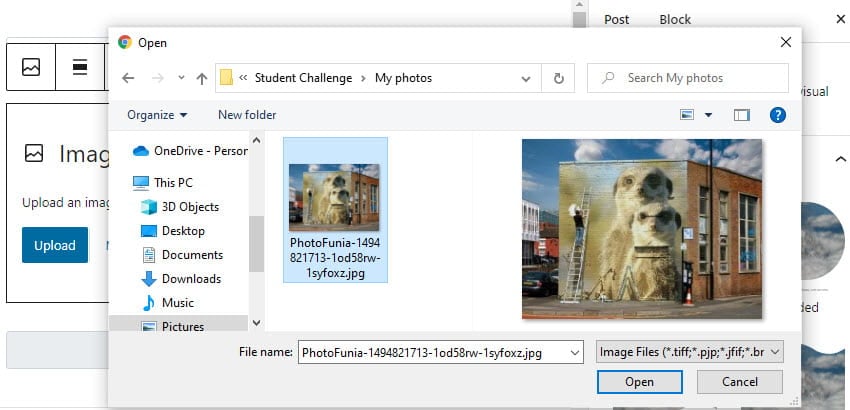
Select the photo on your computer that you want to upload and then click Open to start uploading the image.
Remember in this activity you must only upload photos you’ve taken yourself or photos you’ve created using an app or online tool. Don’t use a photo you’ve found online! We will teach you how to find online images you are allowed to use in the next step in this series.
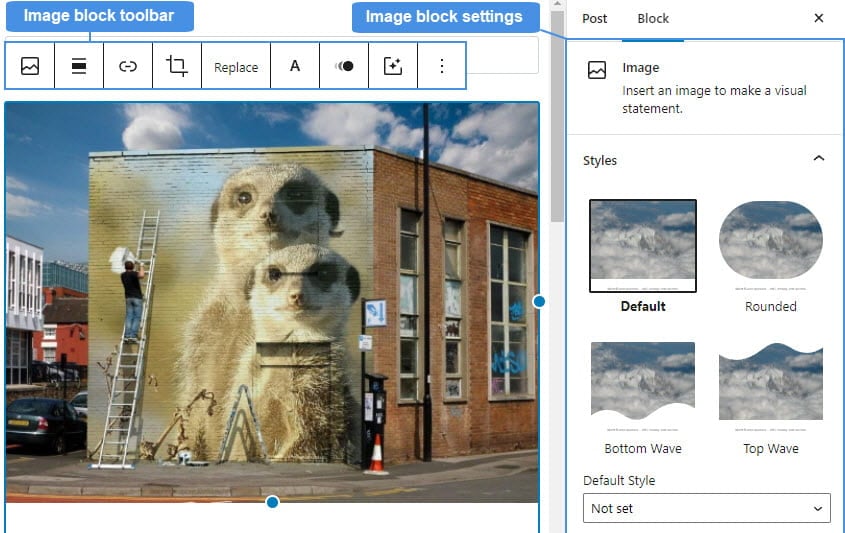
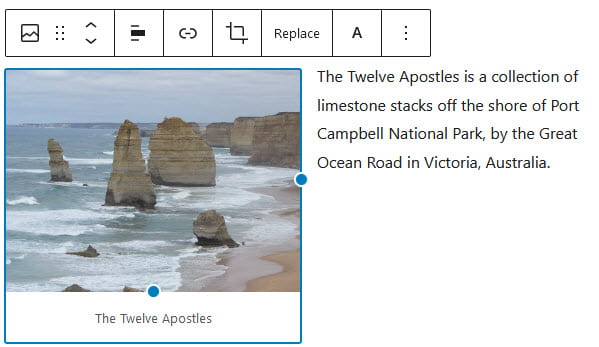
Once the photo has been uploaded you will see options in the image block toolbar and image block settings in the editor sidebar where you can make adjustments to the image.
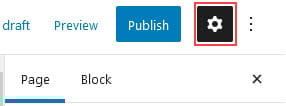
Click on the Settings icon next to the Publish/Update button if you don’t see the editor sidebar.
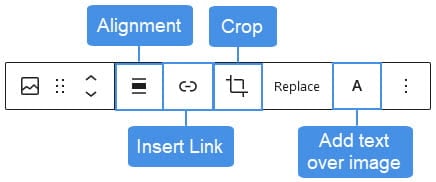
The image block toolbar is used to make changes like aligning the image, linking the image to a website, or cropping the image.
The image block settings include options to:
- Change the style of the image. For example, you can change it rounded, bottom wave, top wave.
- A text field where you can add the Alt Text which is important for people who use screenreaders.
- Change image size.
- Replace Image.
Image Alignment
To align an image within a paragraph you need to insert the image block just above the paragraph block then click on the image block and select left or right alignment.
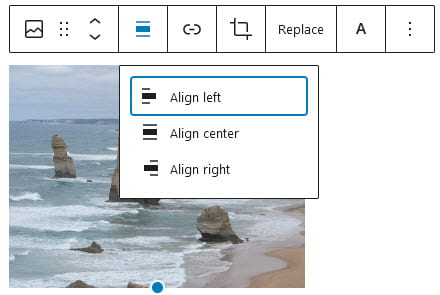
This merges the image into the paragraph block and the text wraps around the image as you resize the image.
If you want several images to appear side by side you need to add using a gallery block.
Use online tools or apps to create images
There is a range of online tools and apps that can be used to improve images you create or create new and interesting images.
Here’s a list of a few online tools for creating and modifying images:
Here are some examples:

Once you’ve created your new image using one of these online tools you click on the Download button to download it onto your computer and then upload it to a post using an image block.
YOUR TASK
Complete one or more of the following tasks:
- Add a photo you’ve taken to a post and then share a link to your post by leaving a comment so we can see how you went. Ideas for your post could be to write a poem or story about the image.
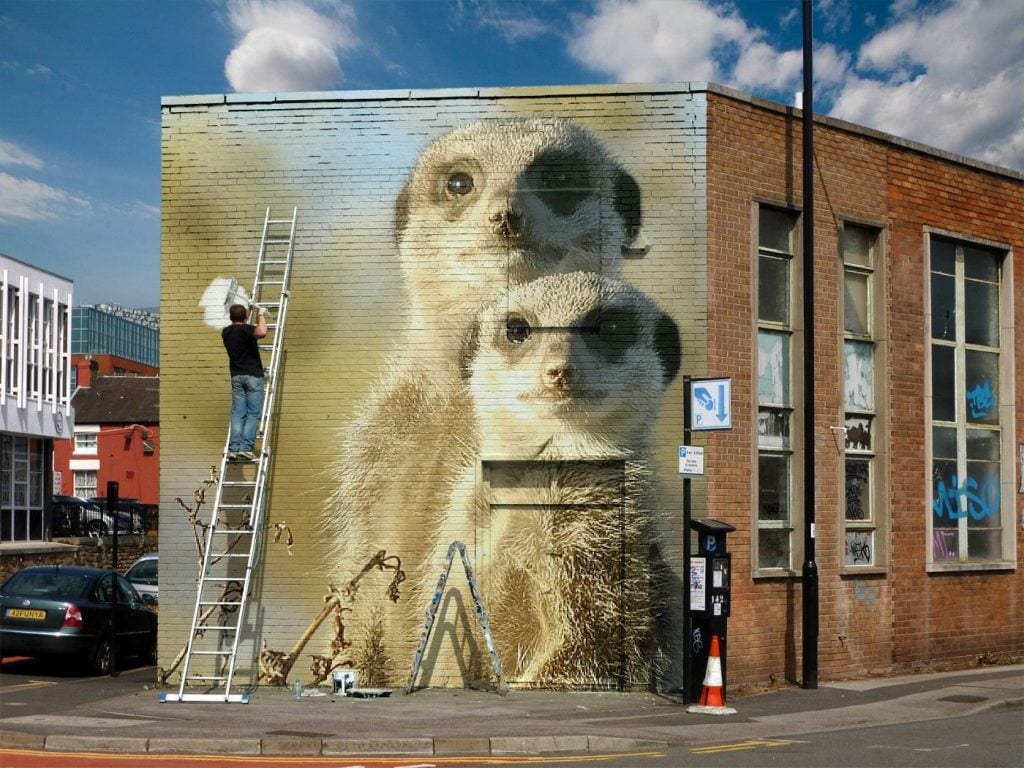
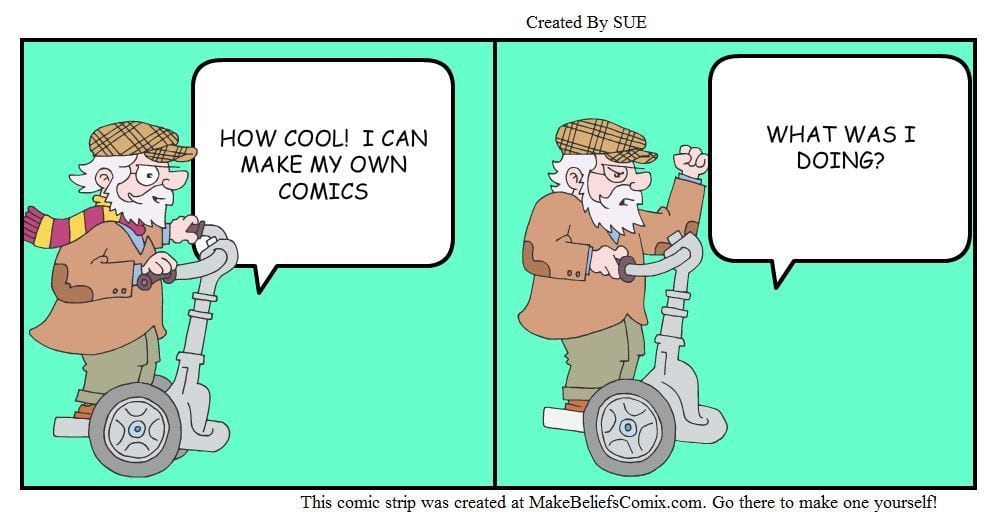
- Create your own images using an app or an online tool and then include your image in your post. You could create a series of images like I’ve done in this post and then tell your readers which tool you liked the best and why.
- Leave a comment on this post and tell us how you went adding images to your post. Remember to leave a link to your post in your comment so we can have a look at your new post.